Making the tiles
We make the tiles completely by hand according to traditional techniques. The process of making the tiles is explained in 8 steps below.
1) The clay
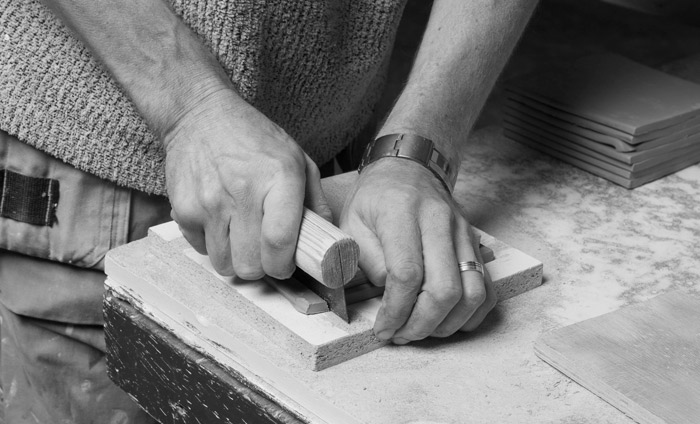
2) Cutting to size
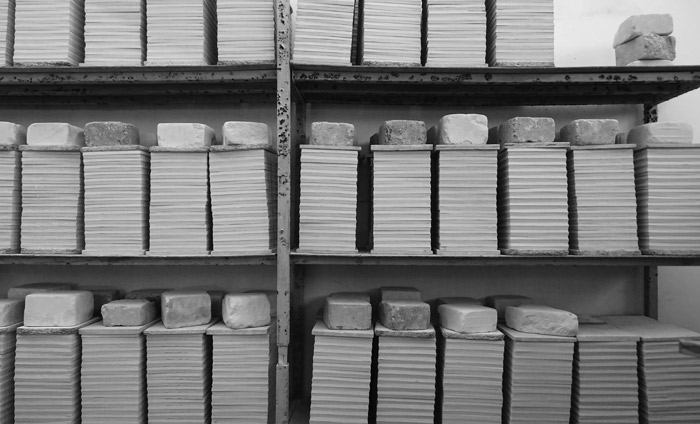
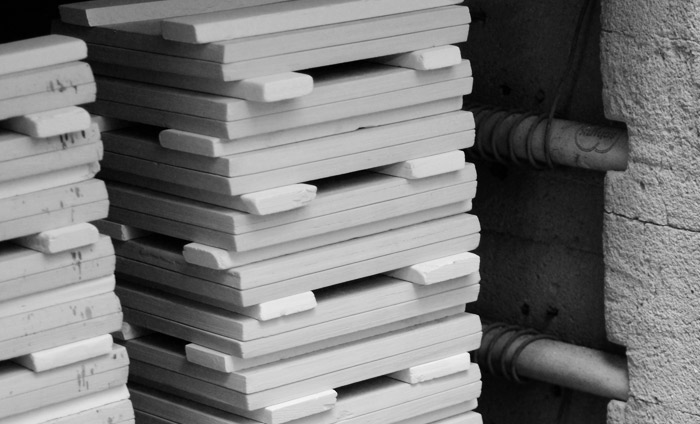
3) Drying
4) Clay
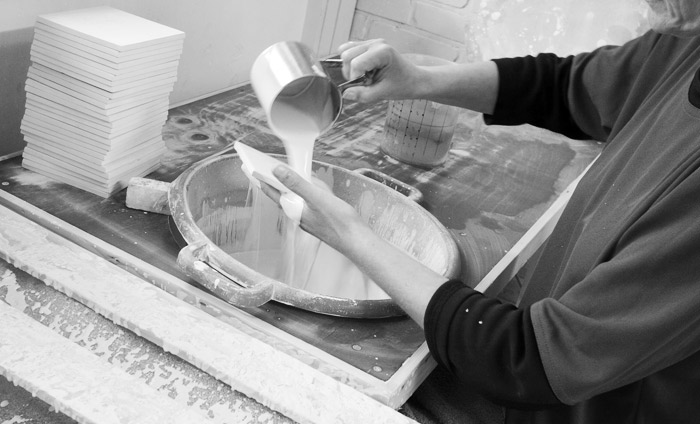
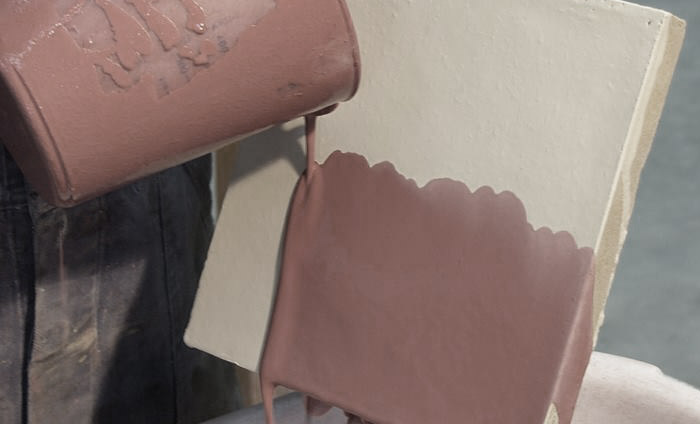
5) Glazing
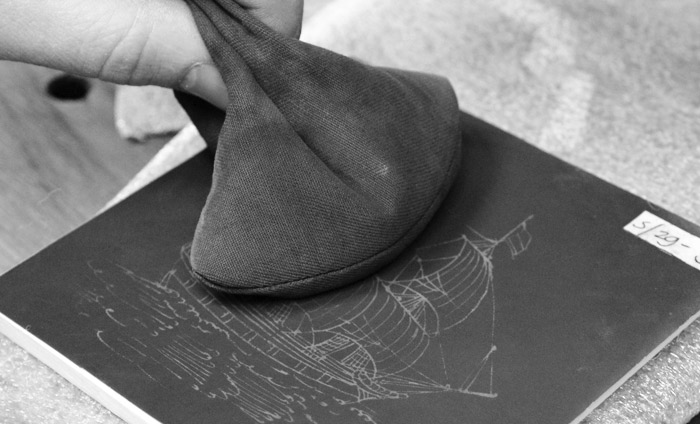
6) Stipple
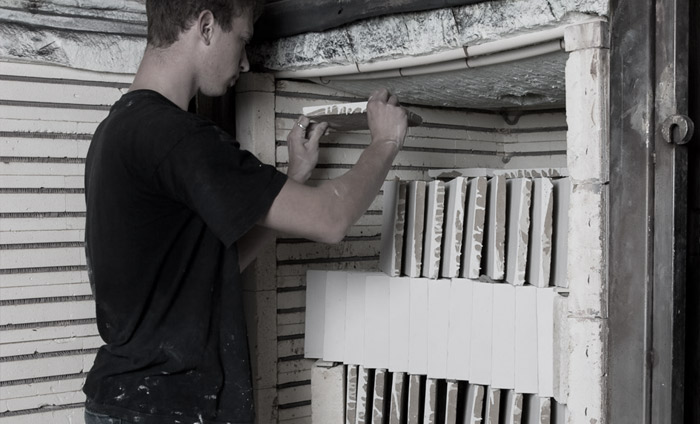
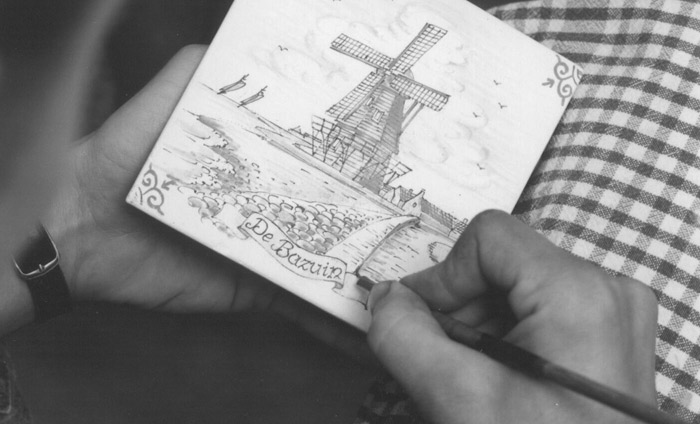
7) Painting
8) Baking
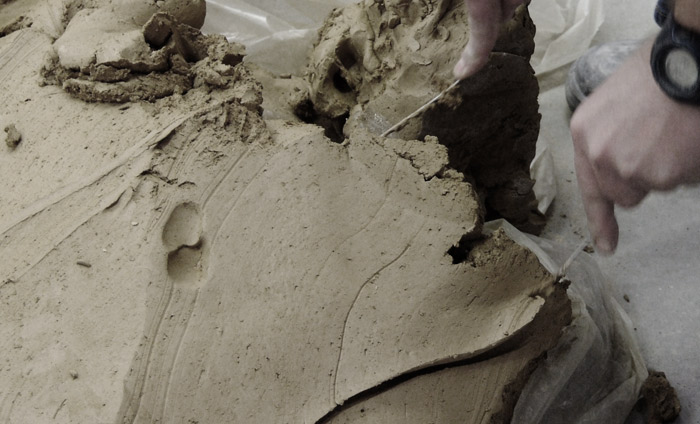
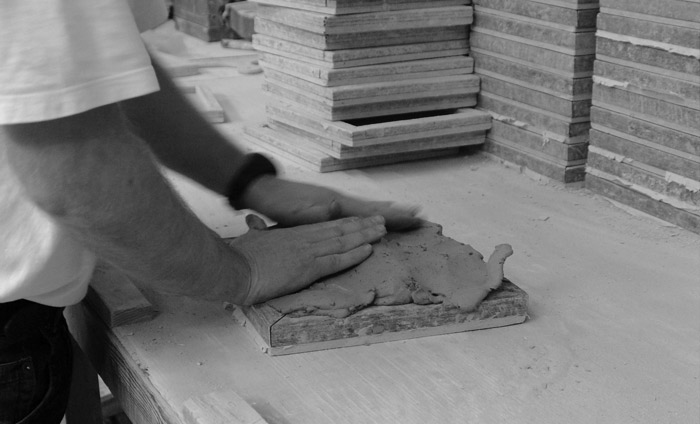
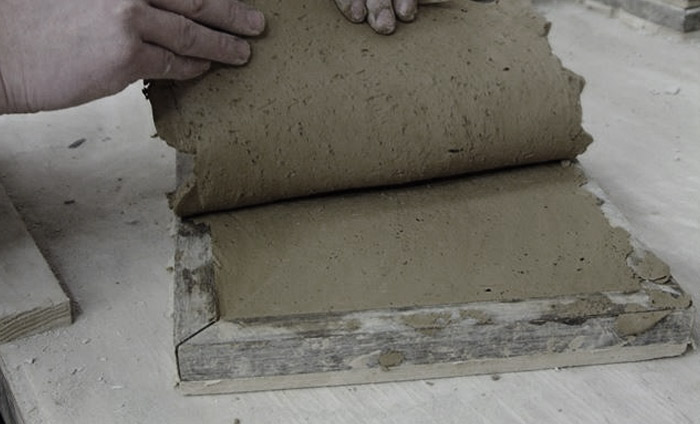
1) The clay
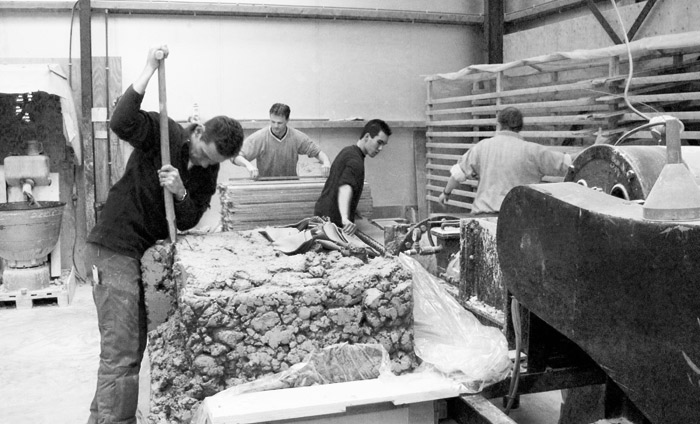
The clay is purified and mixed with water, kneaded and the air is removed in a vacuum press. The soft clay is then rolled to a thickness of ± 8 mm. This rolled 'paste' clay is left to dry overnight so it becomes harder and is then suitable for tile processing the next day.
2) Cutting to size
3) Drying
4) Clay
5) Glazing
6) Stipple
7) Painting
8) Baking
 The second fire follows after painting. After this, the tiles are checked and ready for use.
Making the glazed floortiles
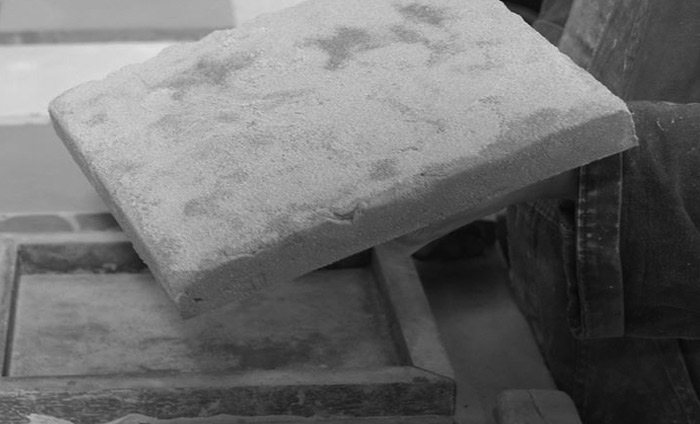
The clay
Form
Drying
Unloading
Engobe
Glaze
Oven
The clay
As with the tiles, the process starts with the clay.
Form
Drying
Unloading
Engobe
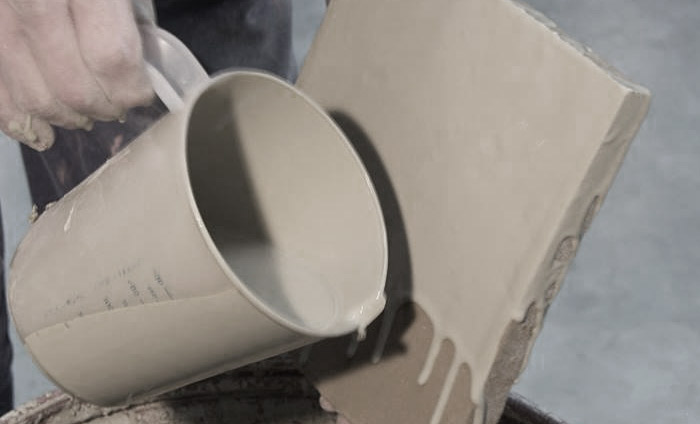
Glaze
Oven